|
|
Base Last updated: 30 Nov 2016 |
The Base
This section details the base of the grinder, including the tooth rest.
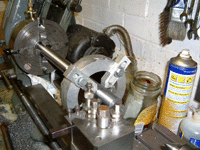 |
01-Apr-06: Facing the ends of each bar. The front bar also has a hole drilled to take an internal spring. |
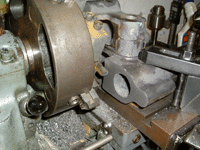 |
Facing the underside of the castings. Both the left and right base castings have been joined with epoxy and will be machined together. |
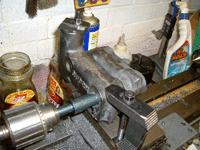 |
Drilling out the holes for the bars to 15/16" as this is the biggest drill bit I have which is under an inch diameter. |
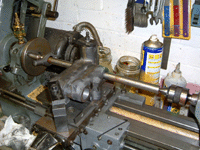 |
Line boring the holes to size for the front and back bars. This is not an easy task and I ended up with the hole for the front bar being 0.0015" oversize where less than a thou would have been ideal. A quick trip into the kiln at 500 degrees C destroys the epoxy resin and the two castings come apart. |
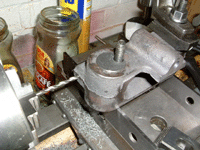 |
08-Apr-06: I've made an executive decision to use split cotters where possible - these worked really well on the Universal Pillar Tool and other Quorn builders report a preference for them over the "slit and nip" style. A 1" diameter piece of steel bar is in place to allow the hole to be drilled straight. |
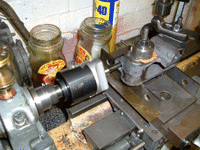 |
Using the boring bar to bring things to size. The final hole size ended up at 9/16" in diameter. |
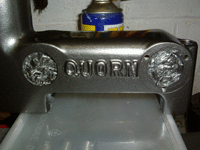 |
09-Apr-06: The base castings have had craters filled with polyester two-pack filler and a good going over with acrylic high build spray primer. Top coat is Carplan Silver-05 which is a graphite metallic colour. |
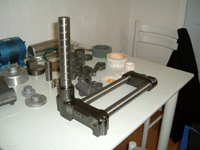 |
The base castings and bars have now been assembled. |
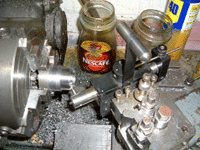 |
14-Apr-06: Producing the feed screw or micrometer as it's sometimes referred to in the book. The thimble is being graduated along the 30 degree section using the Hemingway graduating tool. |
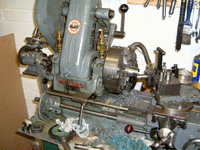 |
Indexing is being provided by the Versatile Dividing Head to get the 50 graduations around the thimble. |
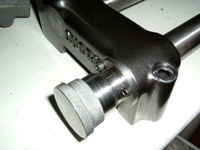 |
The feed screw in place, which had to have a tiny skim off the inside of the thimble to prevent it sticking. No numeric graduations on it for now, I have the gear to do this but I'm leaving this until I get a four axis CNC setup to do a really nice job on it. A "zero" drawn with a Sharpie will do for now... |
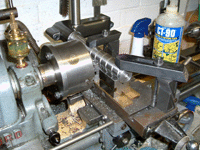 |
17-Apr-06: The column was screwed by Model Engineering Services, although their machining didn't include the vertical slot. I only picked up on this after the column was glued into the base, necessitating the bizarre arrangement here to machine the slot. |
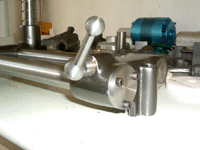 |
The first of the ball handles in place. A brass split cotter has been used and the operation is first class - well worth the extra time and effort to make them. |
 |
22-Apr-06: One of the two split cotters that are used for the toothrest clamp. Where possible, split cotters are being used due to the superior action over the normal pinch bolt. The right hand part of the cotter has been tapped 2BA and the bolt screwed and glued into it. |
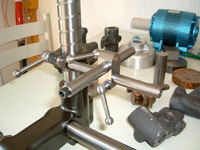 |
Tooth rest is now complete with 3/8" diameter cotters, and so is the base. Not shown in the pictures but a couple of seal covers have been made up to keep grit out of where the front bar passes through the base. |
These pages are maintained by Duncan
Munro. All content on this site is Copyright ©2002-2026 Duncan
Amplification.
Warning: These pages consist of images and descriptions of equipment
which can reach high temperatures creating hazardous and potentially dangerous
situations. These pages should not be taken as a step by step guide on how
to construct any items or carry out any particular procedure, nor should any
references to safety contained herein be taken to guarantee safety in all
situations.