|
Home
Up
|
The Toolholder
The toolholder carries the toolbit to be ground and can carry out axial indexing operations.
It is fitted with an indexing plunger which allows angles every 15 degrees to be easily preset.
510: Tool holder
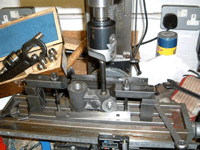 |
25-Nov-06: The book shows a couple of ways of machining the bore of the castings in the
lathe. It's easier for me to do it on the mini-mill to get holes exactly 2.000" apart.
On the right of the casting, the split cotter has already been bolted in place so it will be machined to
exactly the same size as the bore. |
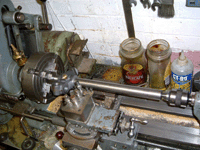 |
This is the method used to machine the relief for the backplate. I was going to turn between
centres but thought the shock of the interrupted cut would cause a problem hence the bizarre method
shown here. The split cotter is bolted in and is being used to hold the casting to the 1" bar. |
511: Nut
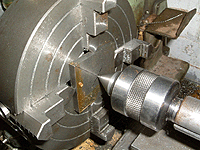 |
02-Dec-06: The knurled nut is 1-3/4" diameter and my stock of steel bar runs out at 1-1/2".
For this reason, the nut is being machined from some 1/4" thick steel plate which is being centred up on the lathe
ready to drill and thread. |
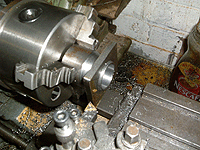 |
To round the nut off and prepare for knurling, the square blank is being threaded onto item 512, the collet.
This still has the chucking piece attached which will be parted off after the nut is complete. |
513: Index plate
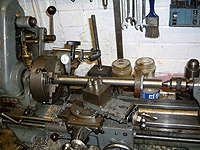 |
To get all the machining concentric, the index plate, nut, and collet will all be mounted on a 1" steel bar mounted in the lathe.
This is being held in the chuck at one end rather than between centres allowing the graduation to be carried out later using headstock
dividing. |
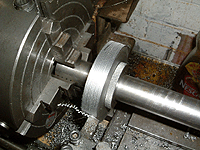 |
With the nut clamped up tight, it's possible to take cutting forces as long as they are not too severe. |
521: Fabricated holder
Some slight differences between this one and the drawing which originally shows a 9/16" square hole to take half inch tooling.
Almost everything here is 3/8" so the square hole has been reduced in size to 7/16" to suit.
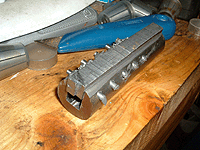 |
15-Dec-06: The slot has been milled and some strips of 3/16" and 1/4" thick plate have been glued in to fill the gap.
5 steel pins of 5/32" diameter have been hammered and glued. It looks a mess at this stage. |
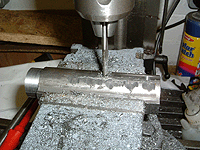 |
After a bit of cleaning up with the angle grinder, the holder is being drilled and tapped. |
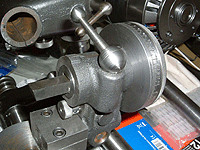 |
All done and fitted to the toolholder body. |
|


